Prerequisites
Before diving into the guide it's crucial to ensure that you have access to the AWS account. This tutorial doesn't cover setting it up or configuring AWS credentials. Links to appropriate resources for these tasks are provided below for your convenience:
Application goals
In this tutorial, we'll build an application enabling clients to create and read posts. Adding posts will be achieved by accessing the POST route, while accessing the GET route will allow clients to read existing posts.
Application architecture
Architecture leverages 3 services:
API Gateway acts as a gateway for incoming HTTP requests, providing a managed endpoint that can be used by clients of API. AWS Lambda functions are then triggered by these API requests. DynamoDB serves as a managed NoSQL database that is used for storing data. All of those services are managed by AWS, this means that AWS is responsible for provisioning, maintenance, and operational tasks. Diagram of the architecture is presented below.

Infrastructure as Code
Infrastructure as Code (IaC) is the process of defining your infrastructure in code. This approach simplifies the process of provisioning and managing resources. This guide demonstrates usage of that process with the usage of the Serverless Framework as a CLI tool. It simplifies the development and deployment by defining resources in YAML files in a straightforward manner. It also provides simple deployments of infrastructure with a single command.
Creating the Serverless Framework configuration
In order to configure the Serverless Framework configuration file must be placed in the root directory of your project. File should be named serverless.yml. This file is a central component of a serverless application. It serves as a blueprint for defining various aspects of the app. Below is presented serverless configuration file used for in this application.
service: serverless-api

plugins:
  - serverless-webpack
  - serverless-iam-roles-per-function

package:
  individually: true

custom:
  webpack:
    webpackConfig: "webpack.config.js"
    includeModules: false
    packager: "yarn"
  configFile: ${file(.env.${opt:stage, 'dev'}.yml):}
  resourceSlug: serverless-api-${self:custom.configFile.STAGE}

provider:
  name: aws
  runtime: nodejs20.x
  architecture: arm64
  stage: ${self:custom.configFile.STAGE}
  region: ${self:custom.configFile.REGION}
  environment:
    STAGE: ${self:custom.configFile.STAGE}

functions:
  - ${file(src/functions/functions.yml)}

resources:
  - ${file(src/database/database.yml)}
Plugins
First section of config includes plugins. Plugins are extensions that provide additional functionality and features beyond the default functionalities provided by the Serverless Framework. In case of this application two plugins are used:
serverless-webpack- this plugin is used to support TypeScript in our codebase. From a technical standpoint, while theserverless-plugin-typescriptis an option, utilizing the webpack plugin provides greater control over the appearance of the final output. Given the significance of cold starts in serverless applications, this level of control becomes particularly crucial. In order to make this plugin workwebpack.config.jsfile must be place in a root directory of the application. Here we provide the webpack configuration used in this application, which emphasizes code minification and excludes packages already available in the Lambda environment. However, feel free to customize it according to your specific requirements.serverless-iam-roles-per-function- this plugin is used to easily define IAM permissions for each lambda. Read more in dedicated AWS IAM execution roles section.
Custom
The custom property in the config allows to create and define custom configuration and variables. In case of this application necessary information for serverless-webpack plugin are defined there. Additionally, we specify the path to the configuration file containing environment variables, along with the resourceSlug property, which ensures that our resources are prefixed with this slug upon creation, simplifying searching them in AWS console. Below .env.dev.yml file is presented containing environment variables.
REGION: eu-central-1
STAGE: dev
Helpful Tip
Provider section
The provider section specifies the settings and configurations specific to the chosen cloud provider. For this tutorial, AWS is selected as the provider, and the latest Node.js runtime (version 20) is utilized for Lambda functions. These functions run on ARM based AWS Graviton processors, which enhance performance and offer cost savings, as per AWS reports. Furthermore, the deployment region and stage are also configured within this section (reusing the values from config file mentioned above).
Referencing other files
To enhance readability and adhere to the separation of concerns principle in the Serverless configuration file, the definitions of Lambda functions and DynamoDB resources are stored in separate files. This is accomplished using the ${file(path)} function.
Creating persistance layer
To kick off, our initial task involves setting up a DynamoDB table using the Serverless Framework. Let's proceed by defining the DynamoDB table configuration that will be generated by the Serverless Framework (the actual service responsible for creating the resources is CloudFormation. Serverless uses it under the hood by transforming serverless files into a CloudFormation template, which is a more intricate representation).
PostTable:
  Type: AWS::DynamoDB::Table
  Properties:
    TableName: ${self:custom.resourceSlug}-post-table
    BillingMode: PAY_PER_REQUEST
    AttributeDefinitions:
      - AttributeName: slug
        AttributeType: S
    KeySchema:
      - AttributeName: slug
        KeyType: HASH
Important Note
Repository pattern
In this guide, we use the repository pattern, a design pattern that enables the separation of logic related to data retrieval from the actual retrieval process itself. I highly encourage to check out this Microsoft documentation page and read more about it.
First we'll create Post interface that represents the data model.
export interface Post {
  slug: string;
  title: string;
  content: string;
  createDate: string;
}
We'll now craft the PostRepository interface, outlining operations specific to the persistence layer.
export interface PostRepository {
  create(post: Post): Promise<void>;
  findAll(): Promise<Post[]>;
}
Now, we'll proceed to build the DynamoPostRepository class. This class implements the PostRepository interface, concentrating on executing methods defined by the repository. It conceals the intricacies of data retrieval and writing associated with DynamoDB as internal implementation details. For this tutorial, we utilize the latest AWS SDK version 3, which introduces modularized packages, enabling streamlined access to SDK functionalities.
Important Note
Warning
function checkForEnv(variable: string | undefined) {
  if (!variable) {
    throw new Error("Missing env variable");
  }

  return variable;
};


export class DynamoPostRepository implements PostRepository {
  private readonly client = new DynamoDBClient();

  private readonly docClient = DynamoDBDocumentClient.from(this.client);

  private readonly tableName = checkForEnv(process.env.POST_TABLE);

  async findAll(): Promise<Post[]> {
    const command = new ScanCommand({
      TableName: this.tableName,
    });

    const { Items } = await this.docClient.send(command);

    return (Items || []) as Post[];
  }

  async create(post: Post): Promise<void> {
    const command = new PutCommand({
      TableName: this.tableName,
      Item: post,
      ConditionExpression: "attribute_not_exists(slug)",
    });

    await this.docClient.send(command);
  }
}
Creating getPosts lambda function
Once more, we initiate the creation process by crafting a yaml definition file. This file contains details regarding the function that will be provisioned by the Serverless Framework.
getPosts:
  handler: src/functions/getPosts/getPosts.handler
  events:
    - http:
        path: posts
        method: GET
  environment:
    POST_TABLE: !Ref PostTable
  iamRoleStatements:
    - Effect: Allow
      Action:
        - dynamodb:Scan
      Resource: !GetAtt PostTable.Arn
Amazon API Gateway integration
Integration with API Gateway is established through the utilization of event properties. By specifying lambda invocation via HTTP events, API Gateway resources are provisioned accordingly. The path and method properties, as their names imply, define the URL structure of the API and the supported HTTP request methods, respectively.
AWS IAM execution role
Each AWS resource in order to perform actions on other resources and AWS services must be granted execution role. In the role we specify policies that lists exactly what kind of operations resource can execute on other resources / AWS services. In case of this tutorial serverless plugin serverless-iam-roles-per-function allow us to define in easy way list of permissions that will be assigned to execution role created for lambda. Permissions are defined in iamRoleStatements property. In case of getPosts lambda scan operation is allowed to be performed on PostTable resource. Here is more information about execution roles.
Helpful Tip

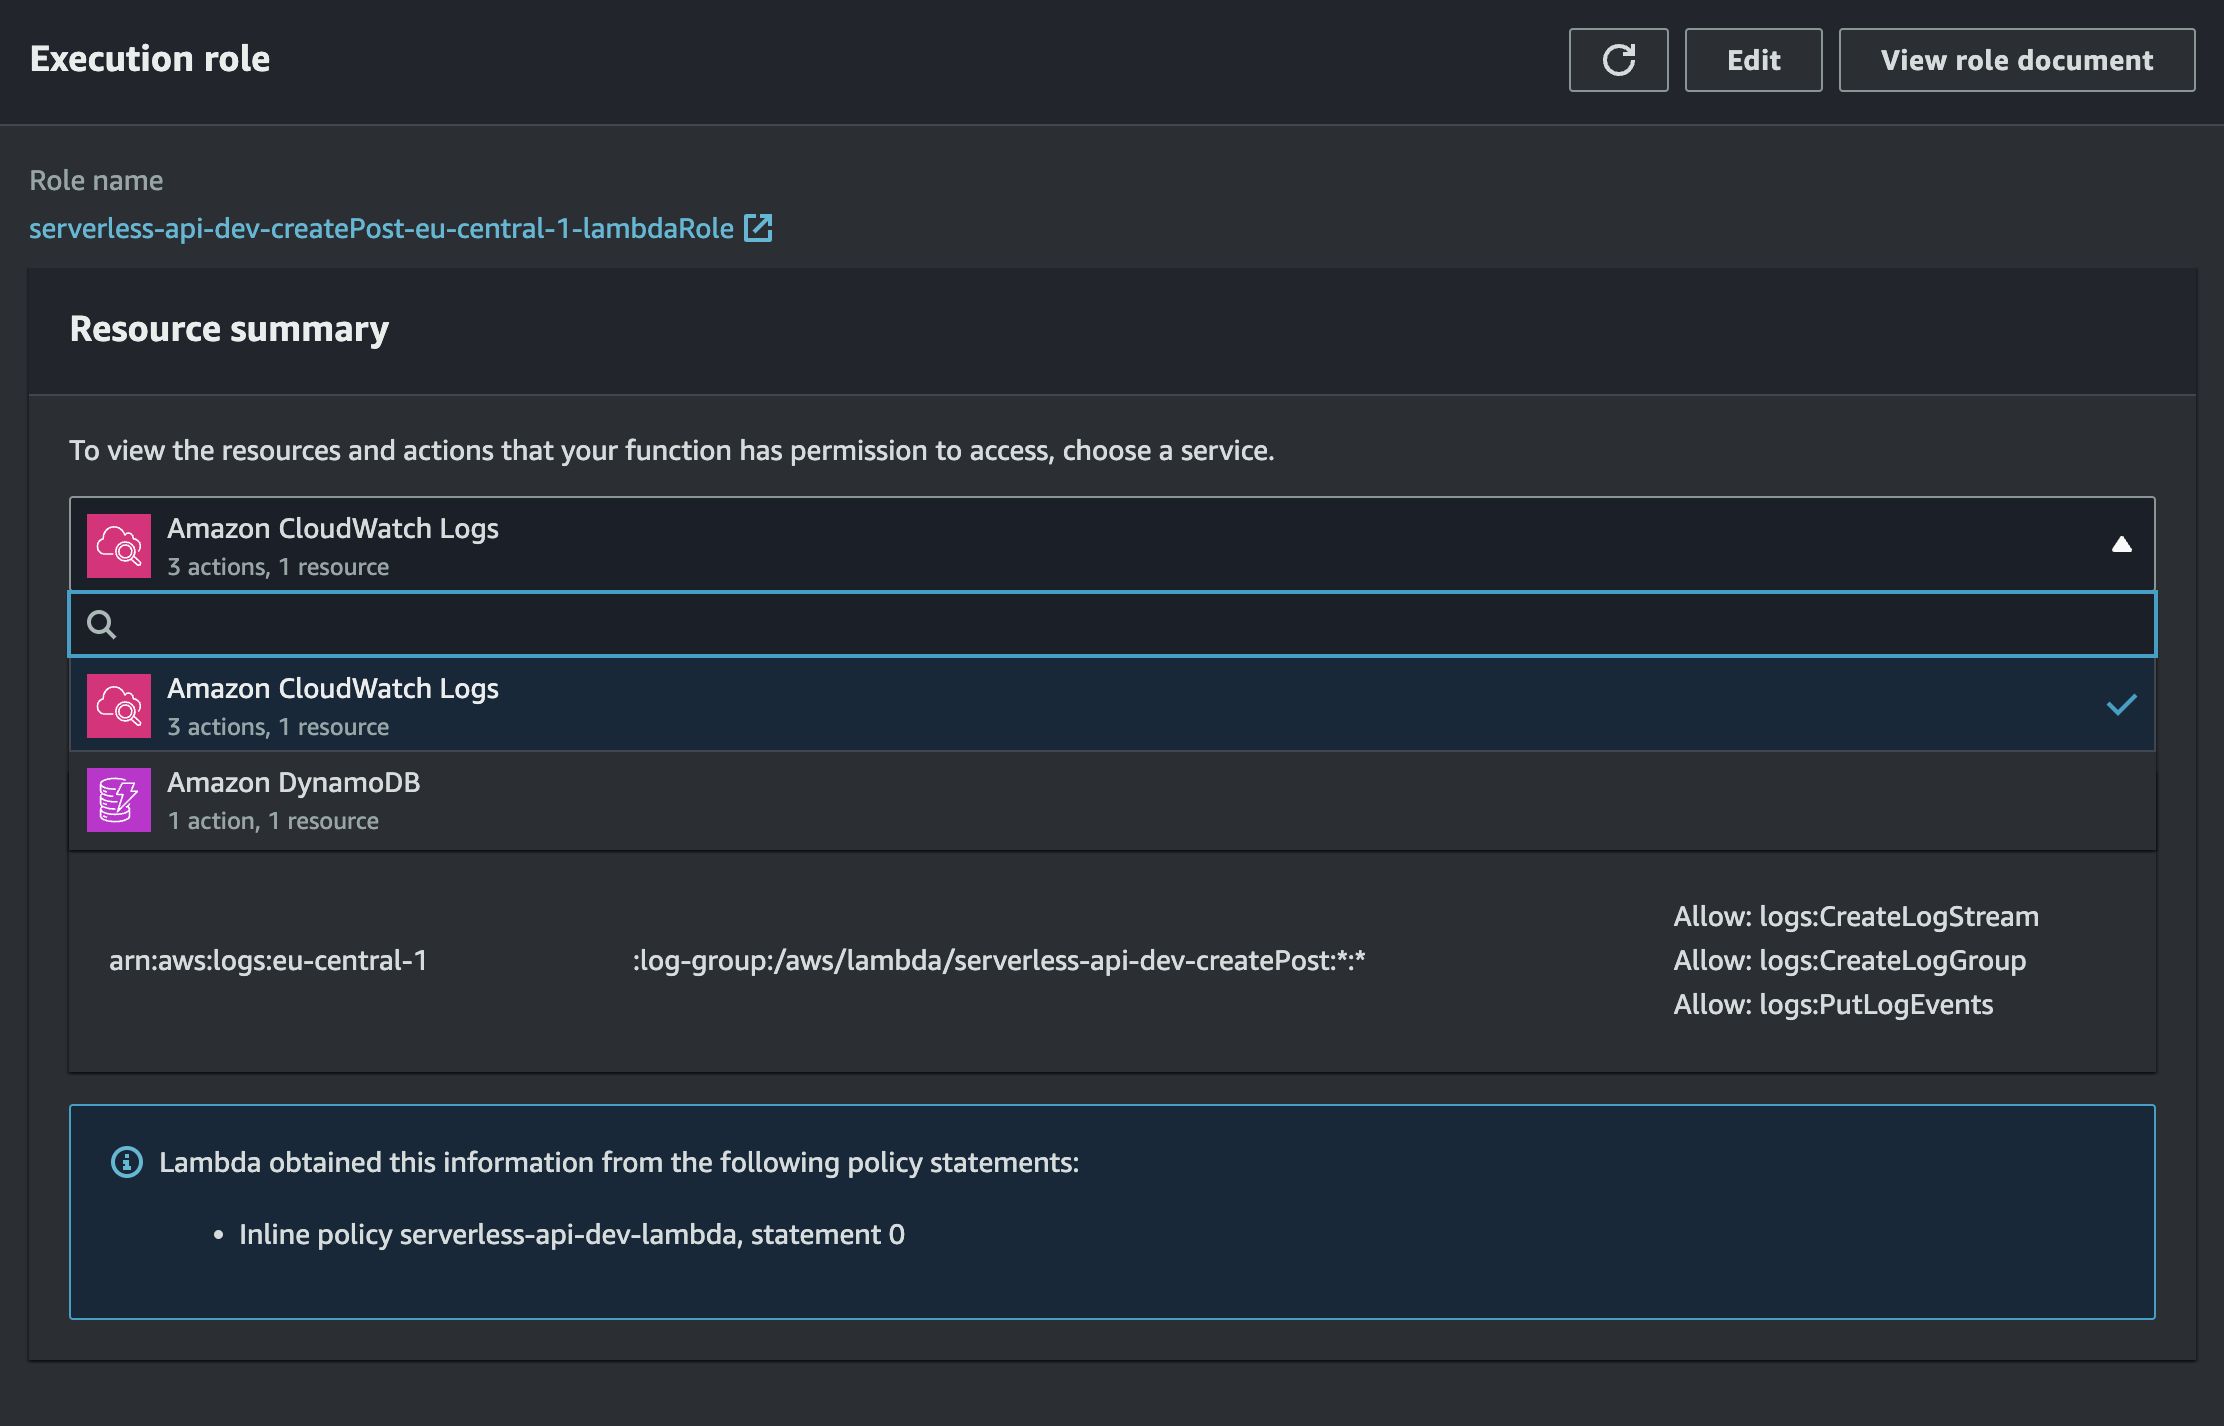
It's worth noting that besides permission that is defined in our codebase, lambda by default is granted permission to create logs in Amazon CloudWatch service.
Intrinsic function reference
Take a look how we reference earlier created PostTable. For this we use:
- !Ref allows referencing of other resources,
- !GetAtt allows getting attributes of other resource, all attributes are always specified in the resource documentation (example).
getPosts lambda handler
handler function serves as an API Gateway proxy handler. The code itself is straightforward, primarily focusing on retrieving all posts from the posts repository using the findAll method. It then returns these posts in a stringified format with a success status code. This function relies on a single dependency, namely postRepository. Notice that this dependency is defined above the handler body, enabling AWS to cache it in between Lambda invocations.
const postRepository: PostRepository = new DynamoPostRepository();

export const handler: APIGatewayProxyHandler = async () => {
  const posts = await postRepository.findAll();

  return {
    statusCode: 200,
    body: JSON.stringify(posts),
  };
};
Creating createPosts lambda function
Process of creating function responsible for creation of posts is analogical to the one presented above. Only key differences will be pointed out. Below is presented code responsible for creating lambda resource in AWS.
createPost:
  handler: src/functions/createPost/createPost.handler
  events:
    - http:
        path: posts
        method: post
  environment:
    POST_TABLE: !Ref PostTable
  iamRoleStatements:
    - Effect: Allow
      Action:
        - dynamodb:PutItem
      Resource: !GetAtt PostTable.Arn
Creating createPosts lambda handler
Handler itself is also really similar to the one presented above. Below is code of the handler.
const postRepository: PostRepository = new DynamoPostRepository();

const getBadRequestResponse = (message: string) => {
  return {
    statusCode: 400,
    body: message,
  };
};

export const handler: APIGatewayProxyHandler = async ({ body }) => {
  if (!body) {
    return getBadRequestResponse("Missing body");
  }

  const post: Post = JSON.parse(body);

  const { error } = schema.validate(post);

  if (error) {
    return getBadRequestResponse(error.message);
  }

  try {
    const result = await postRepository.create(post);

    return {
      statusCode: 200,
      body: JSON.stringify(result),
    };
  } catch (err) {
    if ((err as Error).name === "ConditionalCheckFailedException") {
      return getBadRequestResponse("Article with this slug already exists");
    }

    return {
      statusCode: 500,
      body: "Internal server error",
    };
  }
};
I decided to use joi as the input validator, feel free to use a different validator if joi doesn't suit your needs. Below presented is the code representing schema object used in the handler.
export const schema = joi
  .object({
    slug: joi.string().required(),
    title: joi.string().required(),
    content: joi.string().required(),
    createDate: joi.string().isoDate().required(),
  })
  .required();
Deploying and testing
With our code and configurations prepared, we're ready to deploy the application and conduct testing. Deployment is initiated by executing the sls deploy command. To simplify the deployment process, several scripts have been created within the package.json file.
"scripts": {
  "deploy:test": "sls deploy --stage=dev",
  "deploy:prod": "sls deploy --stage=prod"
}
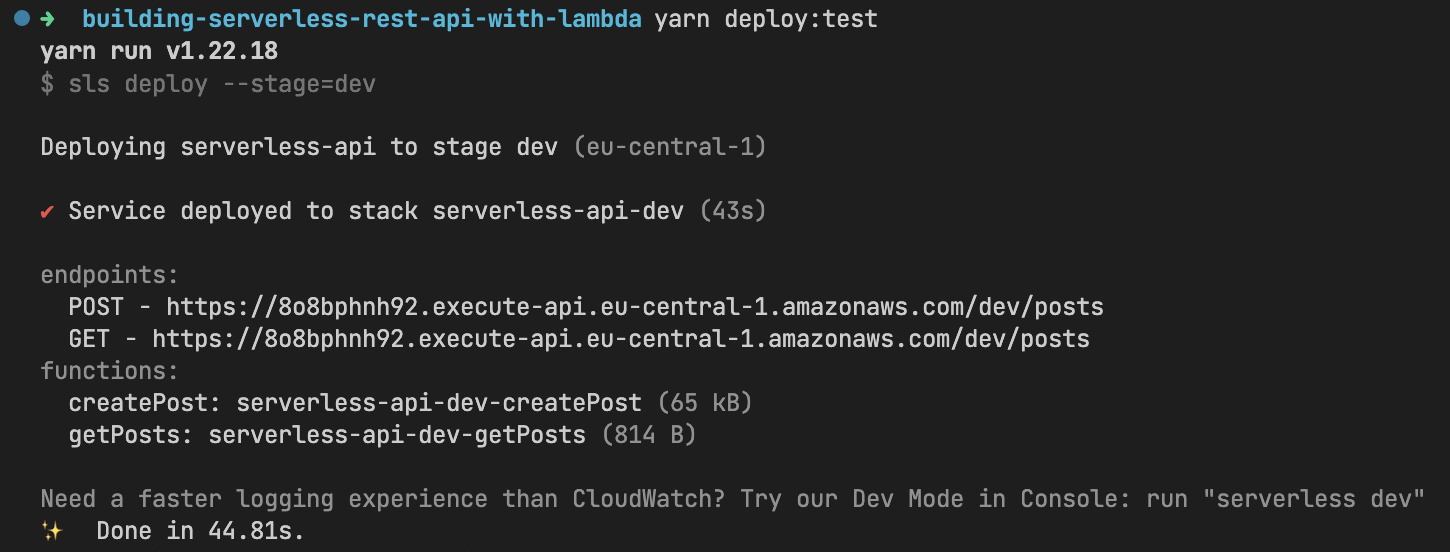
Let's start deployment process to test environment by running yarn deploy:test command (feel free to use npm or pnpm).

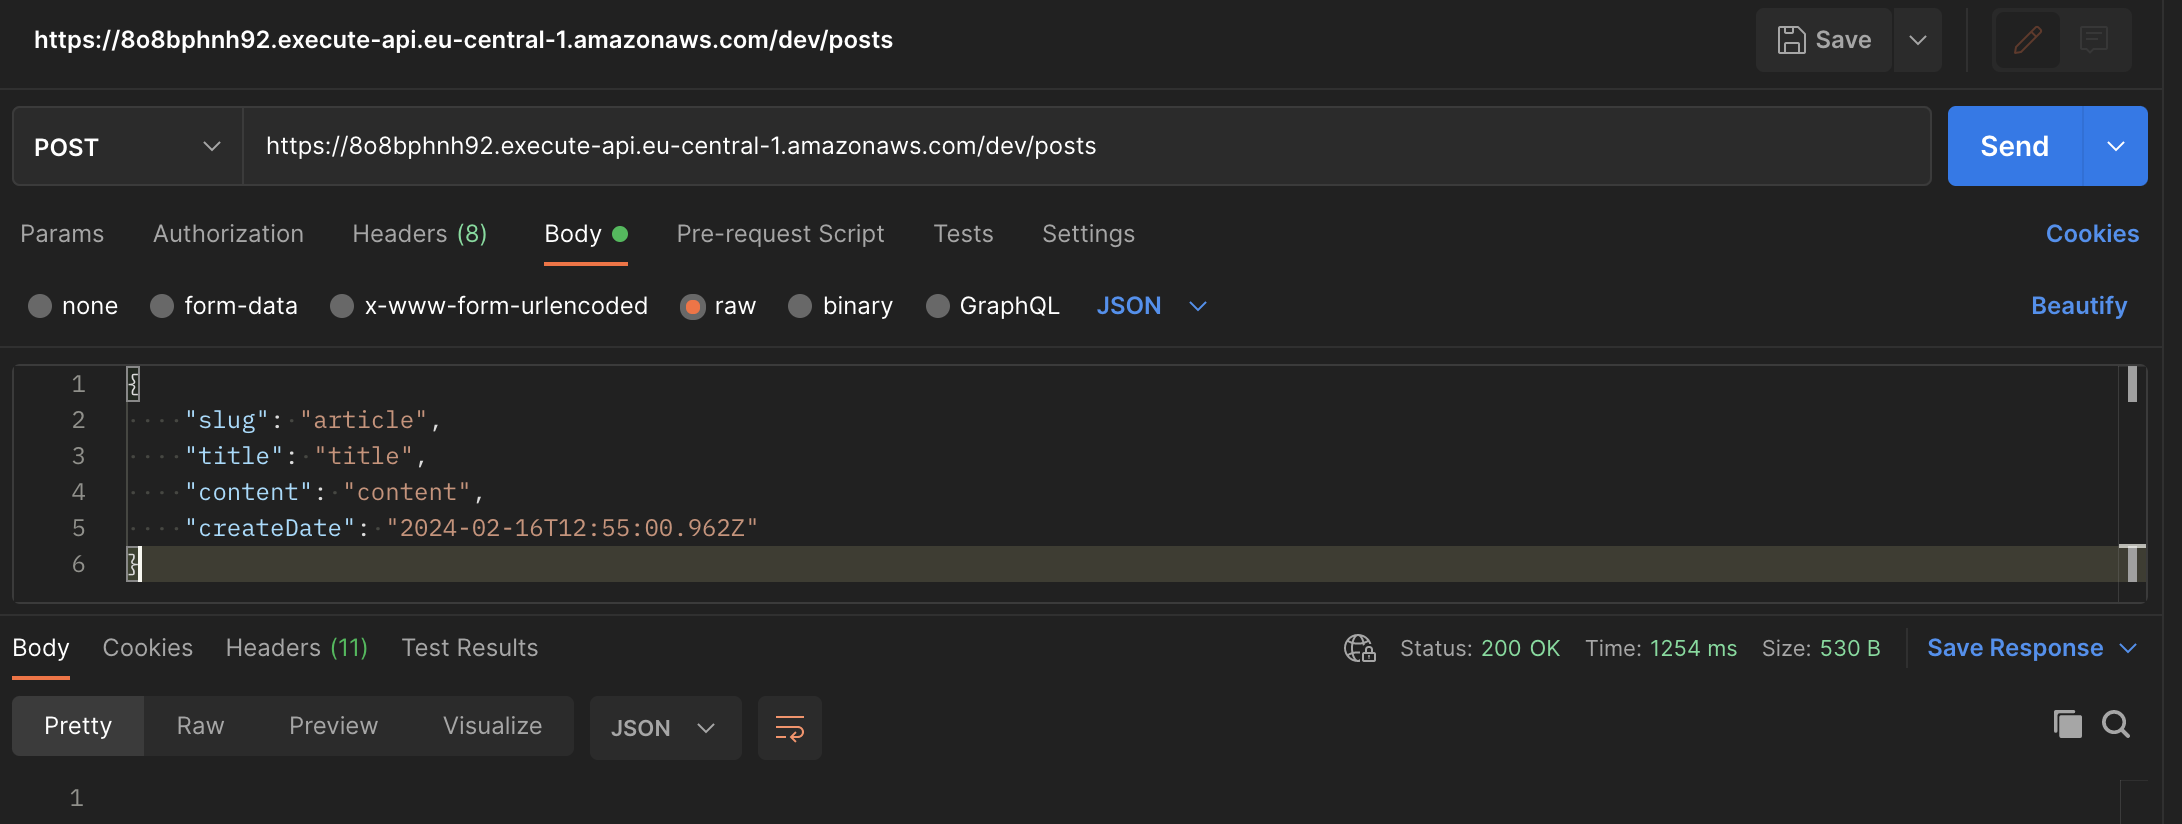
We can test deployed api by using Postman. Let's start by trying to create post.

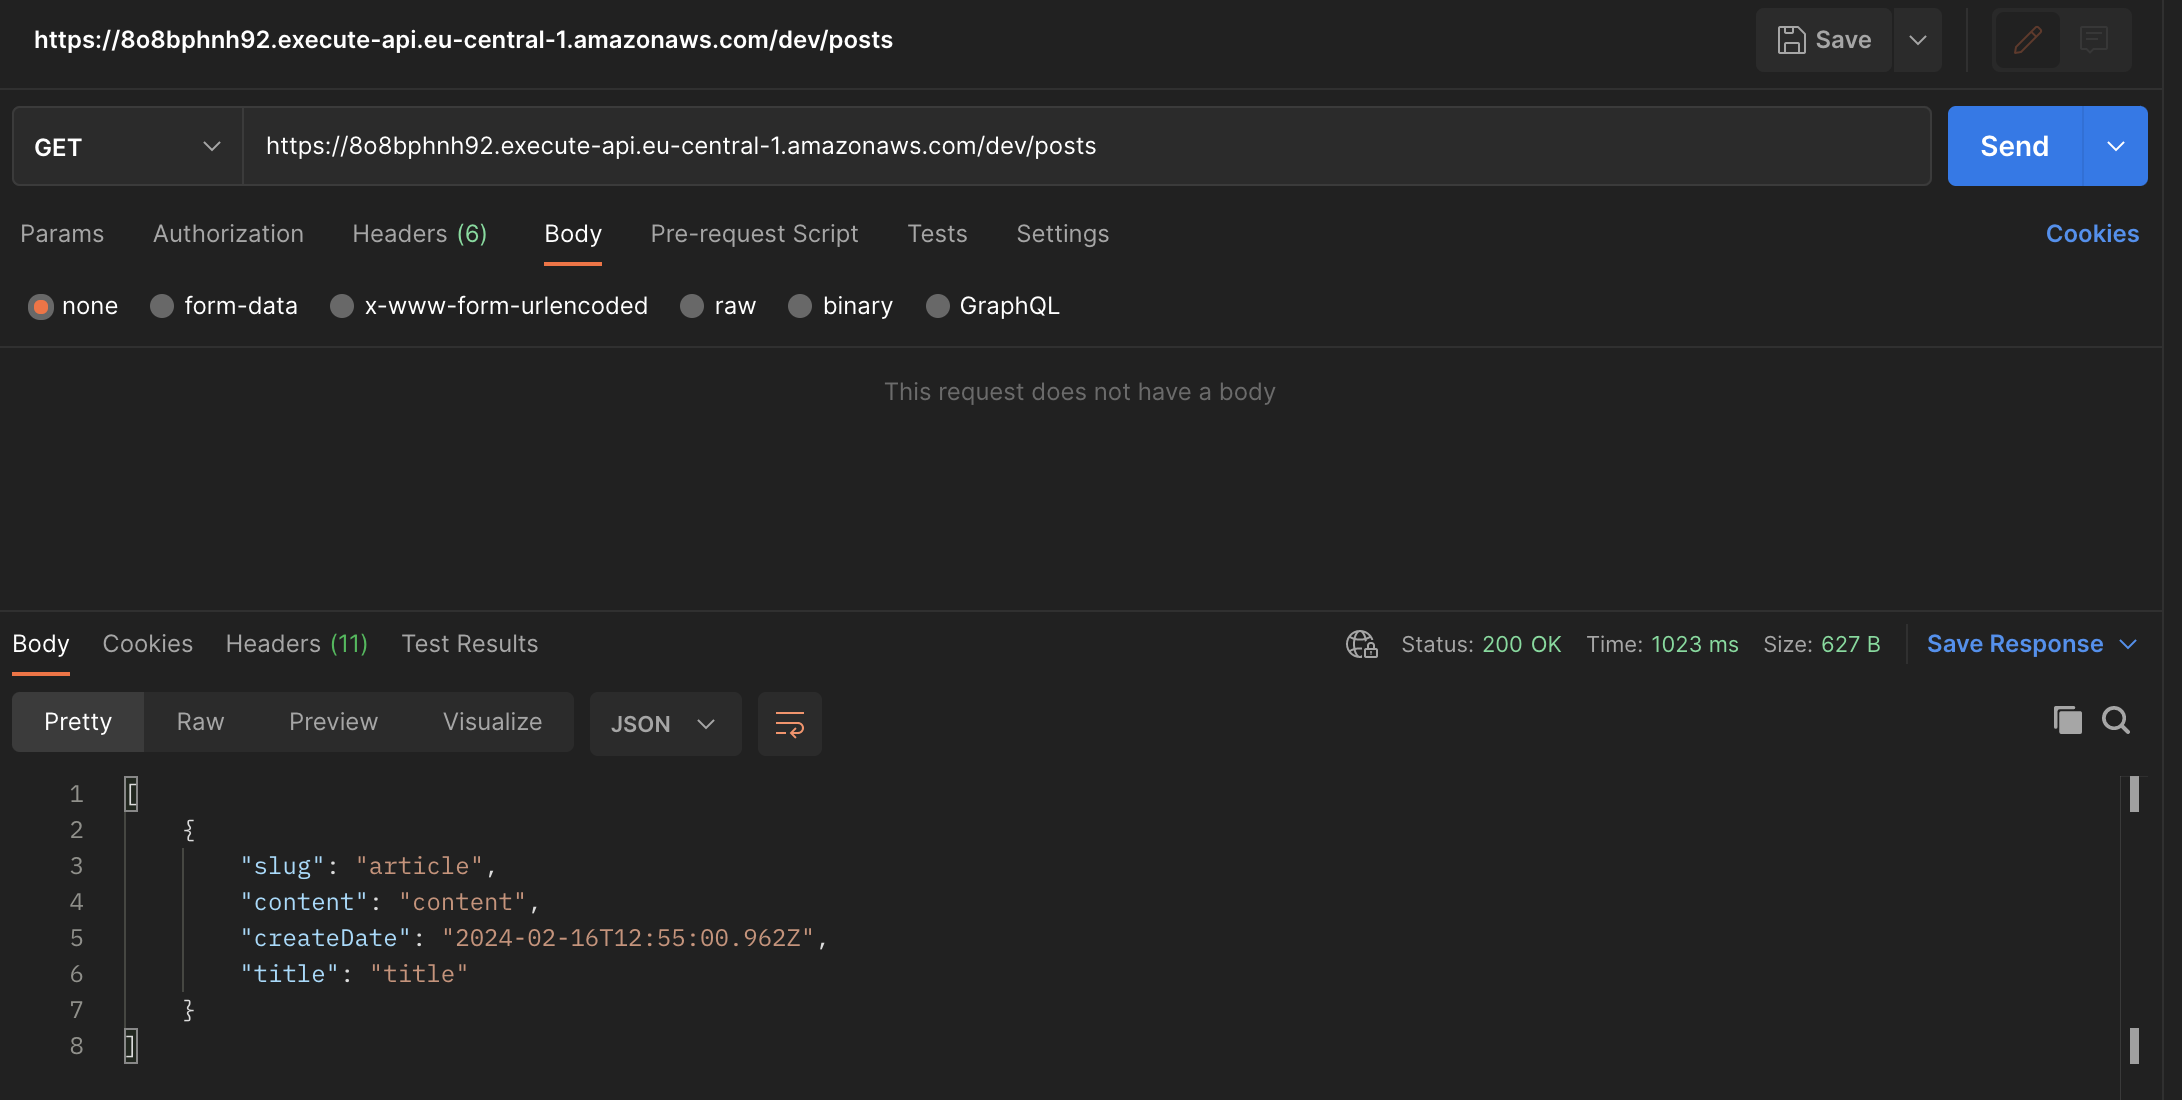
As observed, the post has been successfully created and should now be stored in DynamoDB. Let's proceed to fetch all posts.

Success 🚀🎉! Application works. It correctly stores data in database and then read them and expose to client by the RESTful API.
Conclusion
In conclusion, building REST API with use of serverless offers a powerful and scalable solution for modern app development. Throughout this article, we've explored the basics of the Serverless Framework. Learned how to set up Lambda functions and TypeScript. We stored our data in DynamoDB and exposed functionalities by creating REST API with usage of Amazon API Gateway.
With that being said there are still many areas that were not covered for sake of simplicity of this tutorial. Some main areas of improvements are:
- pagination of results,
- tests of the code (unit, integration, E2E),
- logging inside of Lambda functions,
- more scalable and optimized DynamoDB queries,
- authentication of API,
- leveraging built in Amazon API Gateway data validators (I'd still suggest to keep
joior other validator for more advanced validation), - and many more.